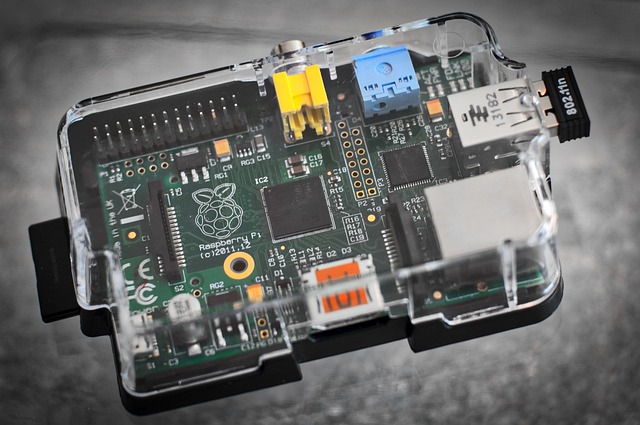
I bought this Raspberry Pi 5 on Amazon, now I know the 16gb was overkill, I think 4 gb would be good but I wanted to test some other stuff with the pi, like how it ran Ubuntu, and if it can be used as a workstation, which in my opinion it cannot. Anyway, it’s been my most popular video on Tiktok, so I think I owe it to the people who followed me to make a followup, and explain simply the tech details on how to do this.
First, put everything together, I had to also buy a charger specific for my pi. You’ll need:
- Raspberry Pi
- Case with a fan ideally
- Charger
INSTALL RASPBERRY PI OS – Here’s the link
INSTALL SYNCTHING ON THE PI
Update your system (always a good idea before installing packages):
sudo apt update
sudo apt upgrade
Install the apt-transport-https package (if not already present, for secure repo access):
sudo apt install apt-transport-httpsAdd the Syncthing GPG key (to verify the repository):
curl -s https://syncthing.net/release-key.txt | gpg --dearmor | sudo tee /usr/share/keyrings/syncthing-archive-keyring.gpg >/dev/nullAdd the Syncthing repository to your sources list:
echo "deb [signed-by=/usr/share/keyrings/syncthing-archive-keyring.gpg] https://apt.syncthing.net/ syncthing stable" | sudo tee /etc/apt/sources.list.d/syncthing.listUpdate the package list again:
sudo apt updateInstall Syncthing:
sudo apt install syncthingLEARN TO USE SYNCTHING AND ADD YOUR DEVICES
And there you have it! Now my honest thoughts about doing this:
Conclusion
I love the idea of a self hosted and private cloud, and it’s proved very useful. However I feel Raspberries are overhyped. Either buy a really cheap one, with 4 GB RAM, to make the purchase worth it, or buy an actual mini computer which may have slighter power draw, but you’re talking maybe 15w? That’s what I’ll do when my pi dies in service.